Ways to weatherize your home for winter
Seasonal Updated: September 10, 2021
Prepping for cold winter weather can help keep you comfortable, save on energy costs and also avoid potential damage to your home. Consider these DIY weatherization steps to address common trouble spots.

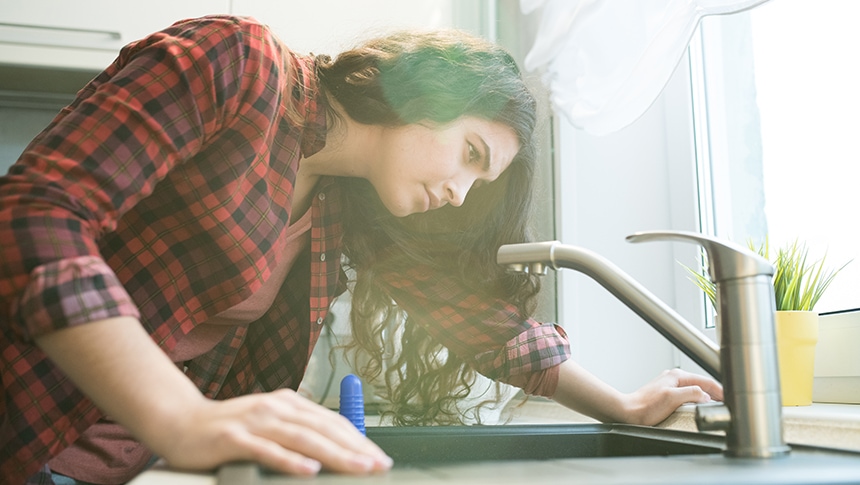
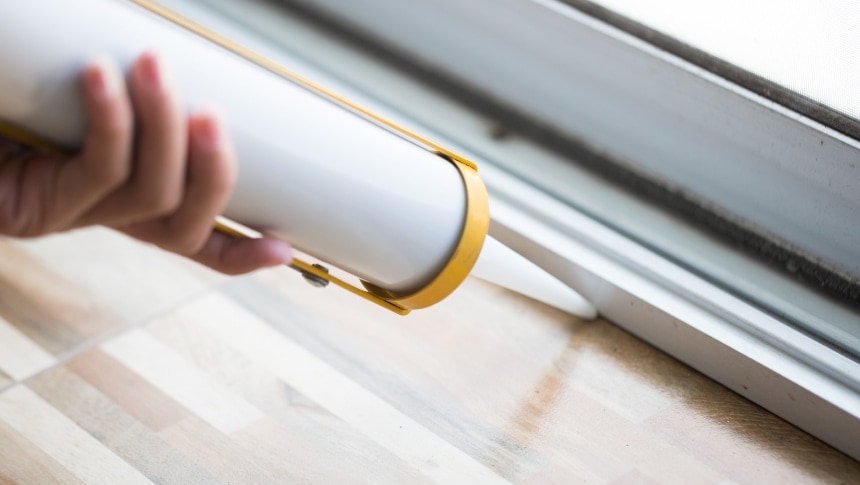
Weatherstripping involves sealing gaps around windows and doors so your home feels warmer in winter and you save on energy bills. If the weatherstripping around your doors is damaged, air can leak freely in and out of your home, creating drafts and wasting energy and money. You can use silicone rubber weatherstripping to permanently seal gaps and fix the problem.
What you’ll need:
These items should be available at most hardware and home improvement stores.
Start by examining your home’s exterior doors for worn weatherstripping. Once you’ve identified a door to work on, close the door and measure the gaps to determine what size silicone tubing you’ll need to use as your new weatherstripping. Then follow these steps:
Once your new silicone tubing is in place, your door will be airtight and ready to function like new.
When the caulk around your windows dries up, it can crack and allow cold air in during the winter. Feel for drafts around closed windows and seal any holes or cracks with caulk.
What you’ll need:
For windows that open:
For fixed (non-opening) and picture windows:
The glass of a fixed window can become loose in its frame over time. This can create drafts or small air leaks.
ENERGY STAR® also provides guidance on sealing behind trim, which requires a little more skill but can result in higher energy savings and increased comfort during cold winter months.
Outdoor faucets
In extremely cold temperatures, your outdoor faucets (hose bibs) can freeze up and cause pipes to burst. If the forecast looks frigid, shut off the interior water valve for your outdoor faucets, and disconnect and drain hoses. You can also purchase outdoor faucet covers at most hardware stores and use them as extra protection from frozen pipes.
Turning off the water to your home is also a good idea if you’re going on an extended vacation.
Pipes

Does your home have exposed pipes in the basement, crawlspace, garage or attic? You may want to insulate with pipe insulation or newspaper to protect pipes from freezing.
Pipe insulation is normally sold with a pre-cut groove allowing for easy installation. Make sure to buy the right size so it fits snuggly over your pipe (you can roughly measure with the diameter of the pipe with a ruler or tape measure). Secure the pipe insulation to the pipe with twine, corrosion-resistant wire or plastic compression ties. Tape is not recommended as it will break down over time.
Gutters
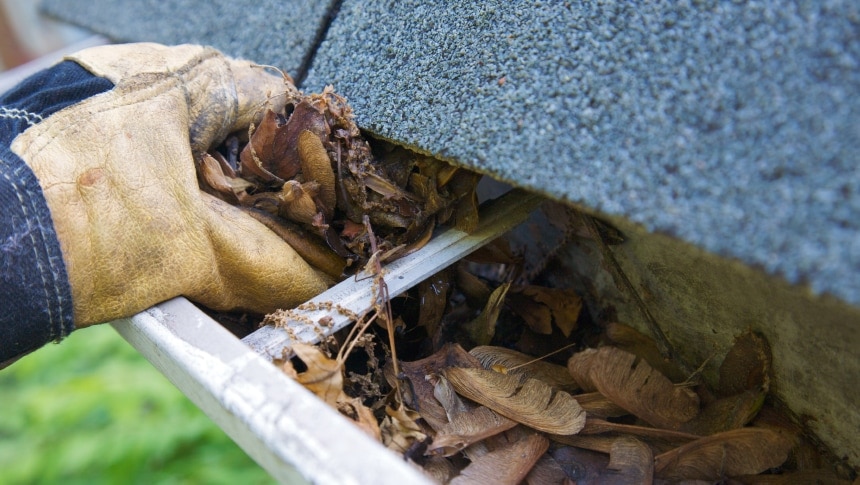
Check gutters for leaves and other debris that can cause snow and water to accumulate. When water can’t drain properly off your roof, it can create extra stress and possible damage to the roof, facia board or siding.
Clean your gutters before winter and also make sure they’re secure. It’s important to do this before winter, when gutters will be tasked with moving water off the roof and away from the home more regularly than other seasons. Gutters can become loose over time. To make sure they’re secure, check for any sections that feel loose or are obviously wobbling. You can resecure gutters using plumbers tape strapping or screws.