As you take steps to prepare your home for winter, don’t forget about your water heater. Weatherizing your water heater is especially important if it’s located in an exposed, unconditioned space like outside or in your garage. The following tips can help ensure your water heater runs safely and efficiently during the colder winter months.
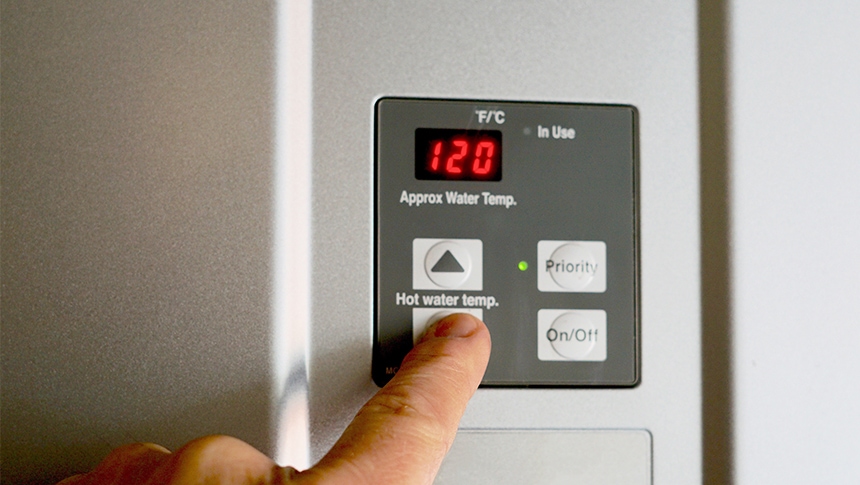
Lower the water heater temperature to 120°F
Some manufacturers set the water heater thermostat at 140°F, but most households typically only require 120°F for common uses such as dishes, laundry and showers. Setting a lower temperature saves energy, cuts monthly bills, and slows mineral buildup and corrosion in the water heater and pipes without impacting your experience of hot water. This lower temperature setting also helps prevent accidental burning.
What you’ll need:
- Thermometer to test the water temperature (a regular at-home medical or meat thermometer will work)
- Sticker or some way to mark the setting on your thermostat
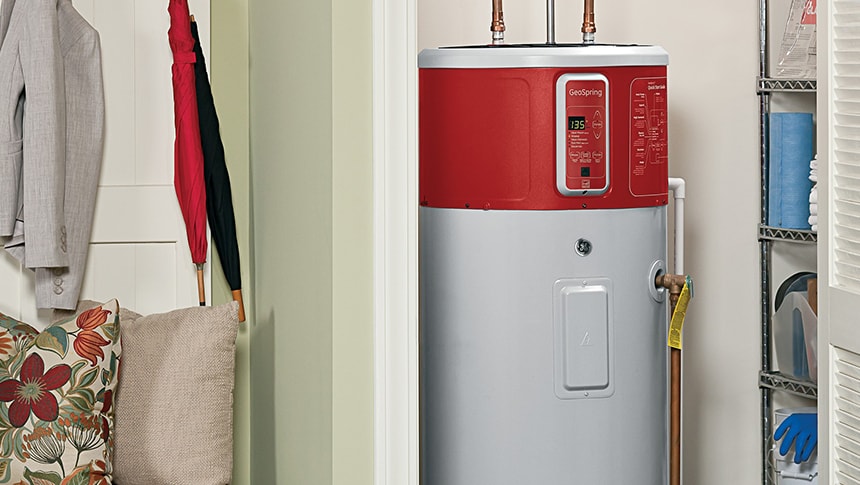
Before you start, review your water heater owner’s manual for details on how to adjust the thermostat. The thermostat dial is usually at the bottom of the tank on gas storage water heaters, and may be behind a panel for electric water heaters. Some units feature an easy-to-use digital gauge.
Regardless of your water heater type, it’s always a good idea to test the temperature before and after adjusting. If you’re not sure how to achieve your targeted temperature or need to test it, you can use a thermometer by following the steps below.
Steps:
- Run the tap furthest from your water heater until the water runs hot, then fill a tall glass with hot water. Measure the water temperature using the thermometer.
- Mark the current setting on the water heater thermostat and then turn it down.
- Wait a couple hours and re-test the water temperature at the same tap.
- If it’s at 120°F, or the temperature you’re aiming for, mark the new spot on the thermostat. You may need to adjust a couple times to get the temperature you want.
Insulate the tank
When you’re standing near your water heater in the winter, do you feel like you need a coat? If so, your water heater might need one as well to prevent heat loss. Check to see if your water heater has insulation with an R-Value of 24 or more—manufacturer information available online will confirm the R-Value of the insulation built into the interior of the tank. If it’s not R-24 or higher, consider following these steps to insulate the tank.
What you’ll need:
- Someone to help you—this project takes two people
- Tape measure
- Scissors
- Marker
- Insulating water heater blanket
- Mask and gloves
- Tape (white vinyl tape works well for vinyl-faced water heater insulation, and some insulation blanket products come with tape so check before you buy)
Steps:
- Turn your water heater off. For electric, switch off the circuit breaker. For gas, turn the gas valve to “pilot.”
- Measure the water heater height and cut the blanket to fit. The goal is to cut the vertical direction to match the tank height and then also cut the horizontal direction so the material doesn’t overlap more than a few inches. Leave the top open—it’s especially important to not block the top vent pipe or other hot areas on gas units.
- Let’s identify where holes will need to be cut in the blanket. Wrap the blanket around the water heater and secure in place using the tape.
- Mark the areas where your controls are so you can cut holes to access them. For electric, make holes for the electric panels. For gas, create a large arch-shaped hole with lots of room around the valve and gas burner. Also mark areas to cut openings for the pressure relief valve and pipe that comes out from the side.
- Remove the blanket and cut out the marked areas.
- Let’s put the blanket back on. Line up your cutout areas and permanently tape the insulation blanket in place.
- Turn the water heater back on. Note: Don’t set the water heater thermostat above 130°F on electric units or wiring may overheat. We recommend 120°F as the most efficient setting.
Insulate pipes
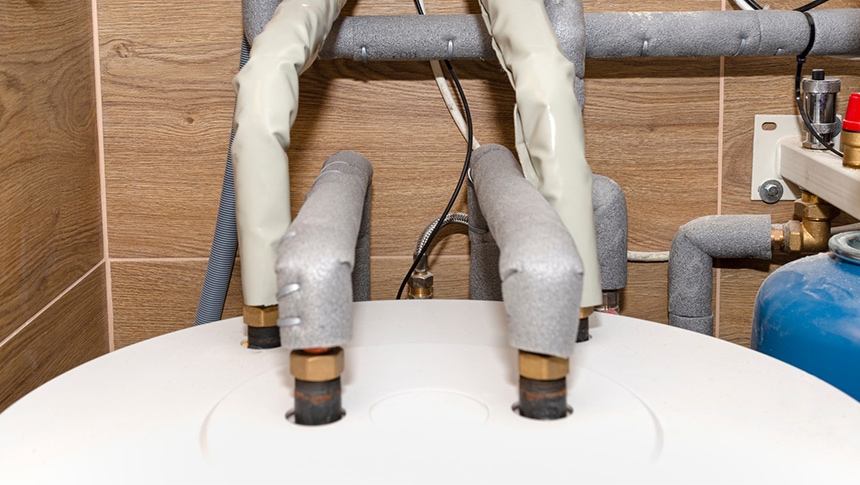
Another way to reduce heat loss is insulating your hot water pipes. This lessens the amount of time it takes for water to heat up, saving energy and water, and allows you to lower the water heater thermostat setting.
Before you begin, decide what insulation material you need. Pipe sleeves for electric water heaters are most commonly made of polyethylene or neoprene foam. For gas water heaters, fiberglass pipe wrap is the safest option—but be sure to keep any insulation at least six inches from the flue.
What you’ll need:
- Tape measure
- Pipe sleeves or fiberglass pipe wrap
- Cable/zip ties for securing sleeves; aluminum foil tape or wire for securing fiberglass pipe wrap
- Gloves if using fiberglass pipe wrap
- Box cutter or sharp scissors to cut the insulation
Steps:
- Measure the lengths of all accessible hot water pipes, starting at the water heater (hot water pipes will actually be hot to the touch, while the cold water pipe can be traced back to your main water line). The first three feet of hot water pipe from the water heater are especially important.
- Cut pipe sleeve to the measured lengths.
- Install pipe sleeve on the hot water pipe with the seam facing down.
- Use cable or zip tie to secure the sleeve to the pipe every one or two feet.
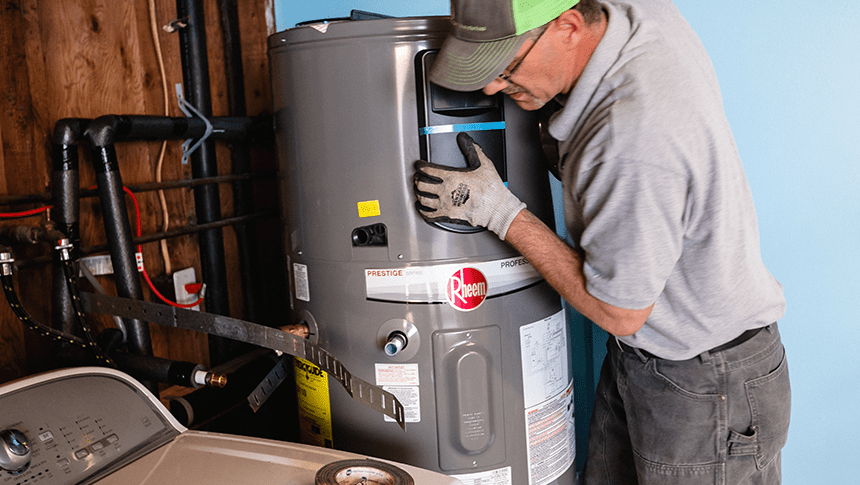
Is your water heater older and in need of replacement?
Check out our water heater incentives for high-efficiency models.
Water Heater
From Our Partner: Community Energy Project
Skill level: Easy
Water Heater
Skill level: Easy
Water Heater
Skill level: Medium